If you have a bathroom in need of remodeling you might be cringing at the thought of how long the work can take, the expense and the return on investment. Fortunately, with proper pre-planning, and making sure you have decisions made in advance and materials on hand when you need them, you can do your part to prevent any unseen delays. Although you never know what you might uncover when you open closed walls, (especially in older homes) knowing the key elements of design in advance can save you and your contractor the headaches of having to go back and rework things. I’ve put together a quick checklist guide for things to consider when doing a gut renovation of your bathroom. The amount of options and decisions that can be made in a bathroom can be overwhelming. Make sure you have a contractor that you trust and consider using a designer that can help you focus your attention and prioritize decisions in a timely manner. Spending tens of thousands of dollars to renovate a bathroom with design flaws is money wasted. We’ve created a handy downloadable checklist for would-be remodelers, to help the process go smoothly.
Function
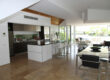
First and foremost, what is the function of the bathroom? Is it a low traffic guest bathroom that doesn’t need a lot of storage for toiletries? Is it a shared kids’ bathroom that needs lots of storage and privacy in different areas, so one person can use the vanity while someone else is using the shower? Will a handshower be useful for bathing small children in the tub? Is it a master bathroom that needs lots of storage, some nicer amenities like a freestanding tub or steam shower? Are there linen closets in the adjacent areas to store extra towels and toiletries, or do you need to find a way to store that in the room? To figure out what your needs are try first establishing what IS and is NOT working in your current layout.
Framing
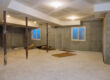
After demolition, framing is one of the first steps of the process. It is essential to determine a few things before the walls are closed up and then tiled. Once walls are closed you can’t go back in!
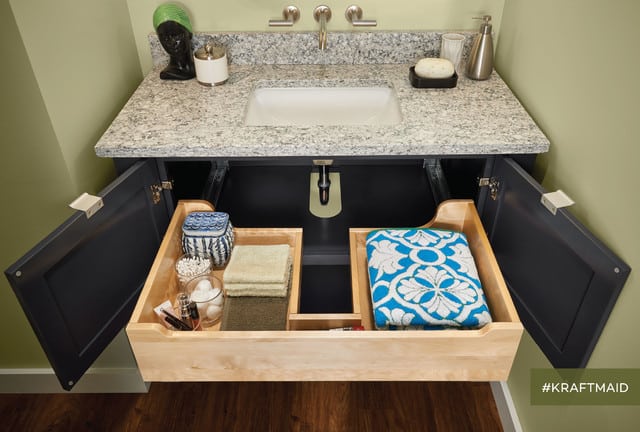
If storage is a priority, you may want to consider adding recessed medicine cabinets or closets. Obviously, a closet would be drawn into your floor plan at the start of things. But if you forget to think about a medicine cabinet it will be difficult to add one later. You’ll need to allow for framing, and have the actual cabinet selected with those dimensions, if not actually having the piece on site to use for a rough opening. There are high end medicine cabinet with outlets, nightlights and lighted interiors. If one of these would be up your alley – make sure to specify it from the start so that you can have power run to it!
Even if your finishes aren’t selected and finalized you should decide if you want a floating vanity or one that stands on the floor. The vanity can be a key decision. Read about Trends In Bathroom Vanities for advice and insight. Or if you’re adding a bench to the shower, this will have to be part of the construction planning. Floating vanities and benches will need proper support and blocking in the wall, as well as make-up magnifying mirrors that pull out and extend (you don’t want to rip the drywall off the wall pulling out the arm of your mirror!).
If your vanity is not freestanding and is up against the wall – don’t forget you’ll need to leave enough space for the doors to open or drawers to slide without hitting the side walls. If you forget to leave room for a filler (a piece of wood that leaves space between the cabinet and the wall) then you’ll have all of your plumbing, medicine cabinets and lighting centered in the wrong spot!
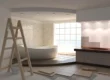
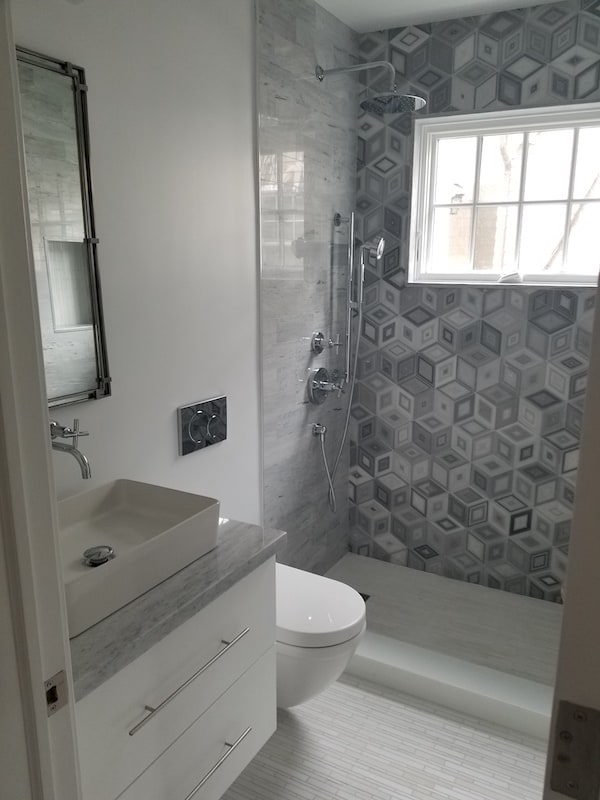
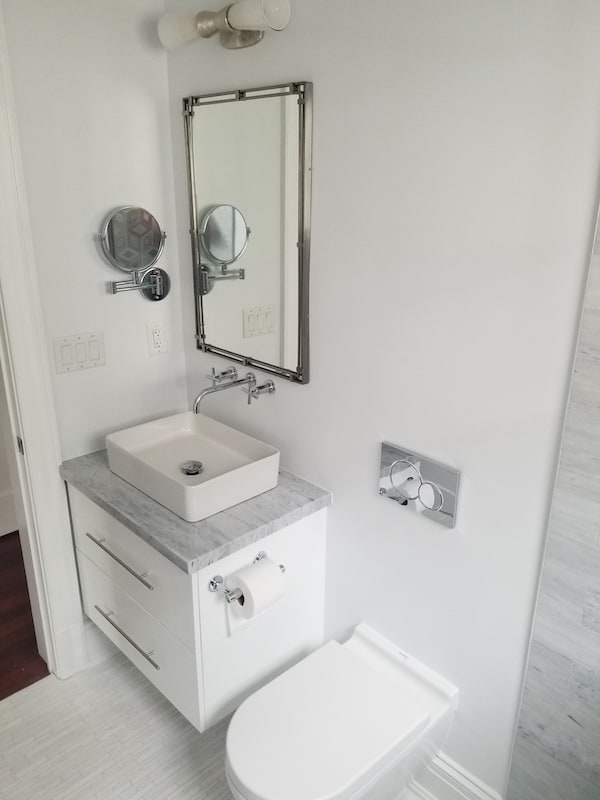
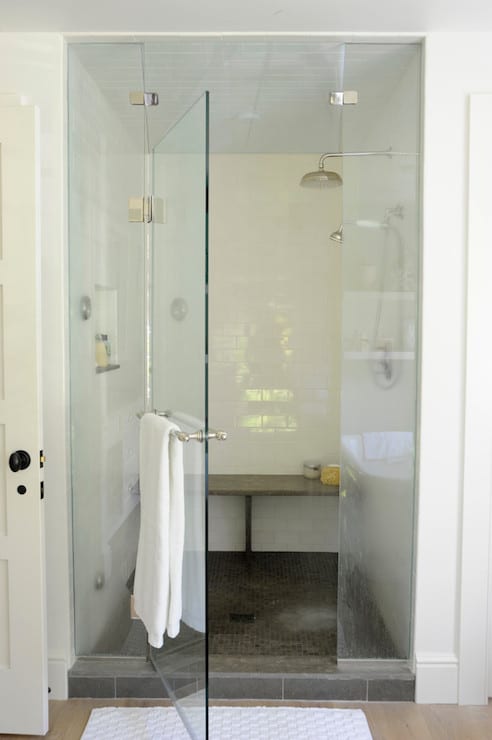
In the Greenwich, CT bathroom shown here, lots of framing decisions needed to be made in advance. We reframed the wall for the wall-mounted toilet tank, added blocking for the floating vanity and pull-out make-up mirror, and framed for the shower niche. We were unable to recess the medicine cabinet due to preexisting locations of pipes running in the walls.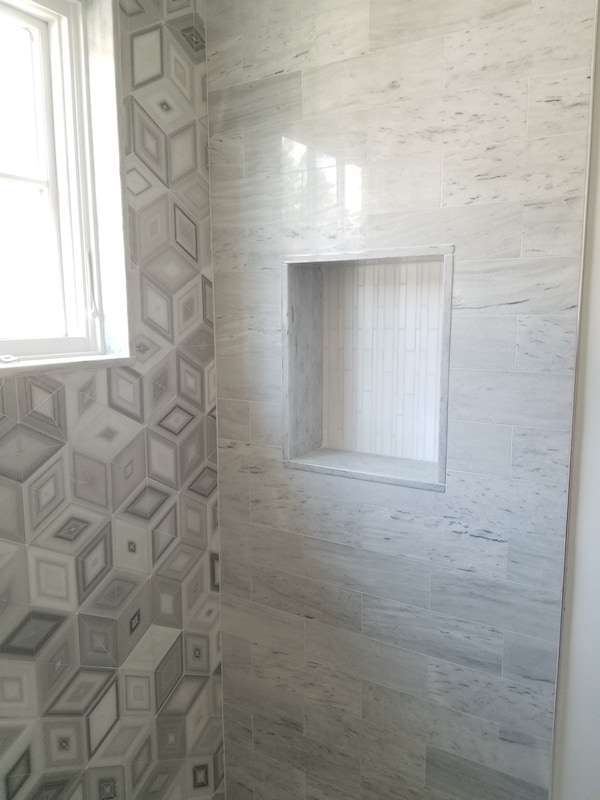
You’ll want to think about how you’re storing your shampoo and other toiletries in the bath/shower. Will you have a ledge, or a niche? You’ll need to determine those dimensions, which wall they will go on and how that could affect a tile layout. Make sure you have an idea of how big your bottles are to make sure your niche is big enough! I recommend using a smaller format accent tile inside the niche to add a decorative element. It’s also looks nicer in a smaller space than having to cut larger sized tiles. If using a bigger tile try using a module of that tile when determining the size of the niche (for example, a 3”H x 6” W tile could go in a 12” x 24” niche, 4 tiles high and 4 tiles wide). Check out our recent blog post for The Hottest Trends In Tile Decor.
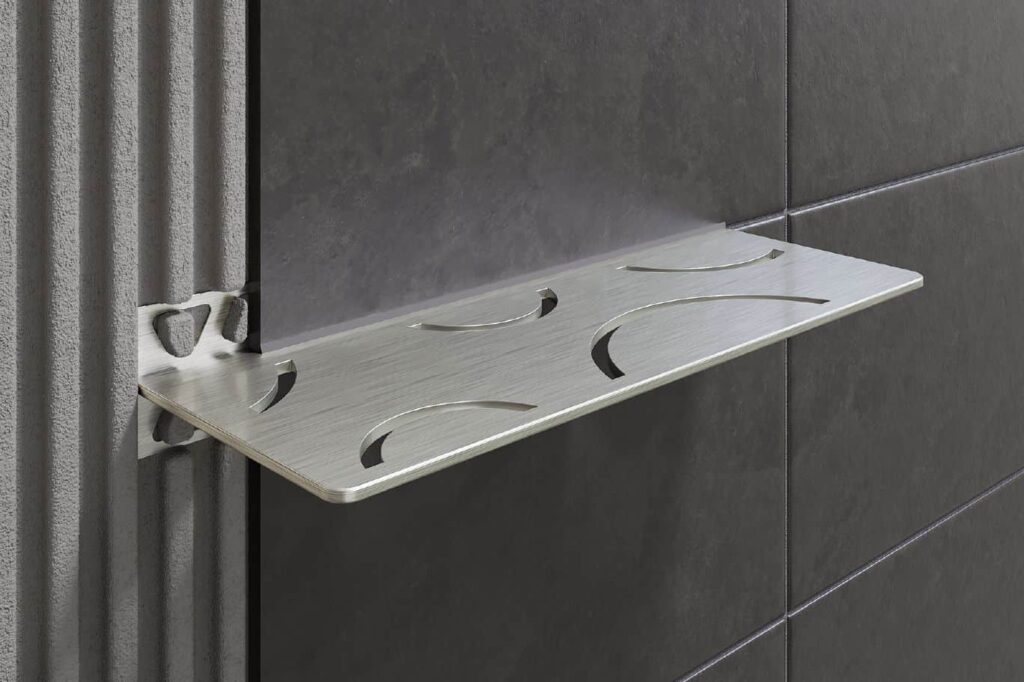
Didn’t think about the niche, or are unable to frame for one? Schluter makes metal shelves that can either go inside a niche, in the corner, or cantilever off the wall. However, you DO need to remember to use one of these before you begin tiling!

Plumbing
You don’t need to have your exact plumbing models selected during this phase of construction, but you do need to know what brand you’ll be using, as the roughs and valves that go into the wall are brand specific and compatible with only certain fixtures. You will need to decide if you are using a thermostatic or pressure balance system. Pressure balance is the more traditional and economical system where water turns on as the temperature is set (one valve). Thermostatic system has a volume control that adjusts the water, and a thermostat trim that adjusts the temperature (two valves). This is a more expensive system that you will want to consider in a master bathroom and possibly other baths in the house.
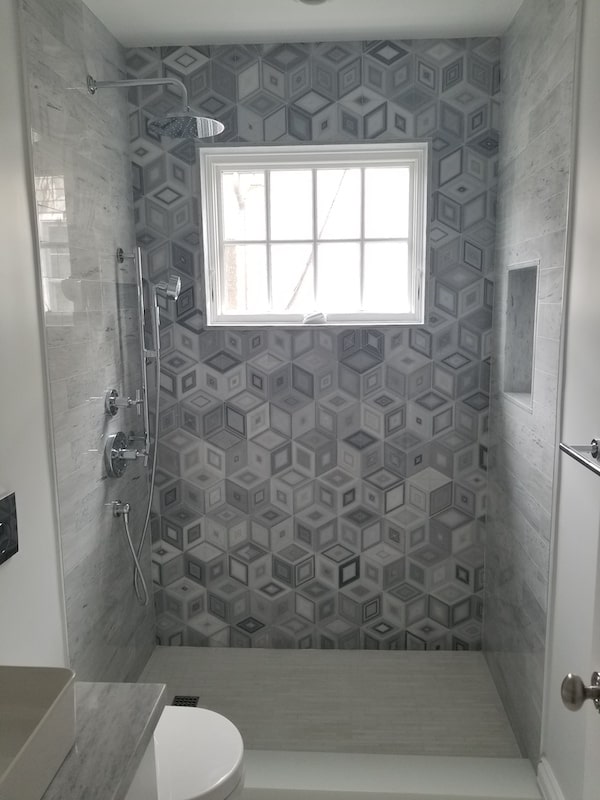
You’ll also need to determine the height and locations of the plumbing parts in the shower. I typically recommend between 42”-48” high for the controls, although some people go as low as 36”. You may want the showerhead at 7’-0” high or even higher as the human population is much taller than they were in the 50’s and 60’s when showerheads were typically set at 6’-0” or 6’-6” high. Remember that most showerheads drop at least a few inches from where the arm connects to the pipe in the wall. You may want a rainhead shower that comes down from the ceiling or is even recessed into the ceiling. Even though technology has gotten better, if you are a stickler for water pressure, I would steer you away from a rainhead shower, as the water pressure feels different, unless you’ve tested a piece beforehand.
Likewise, if you have a separate bathtub, your tub filler can be wall-mounted, deck mounted, or also floor mounted; and your sink faucet can also be deck mounted or wall mounted. These wall-mounted fixtures will have valves that need to be installed inside the wall and have plumbing run to them. Knowing what type of plumbing fixtures you’re using and where they’re going in advance will not only move the project along faster, but give your contractor more information to properly quote the cost of labor!
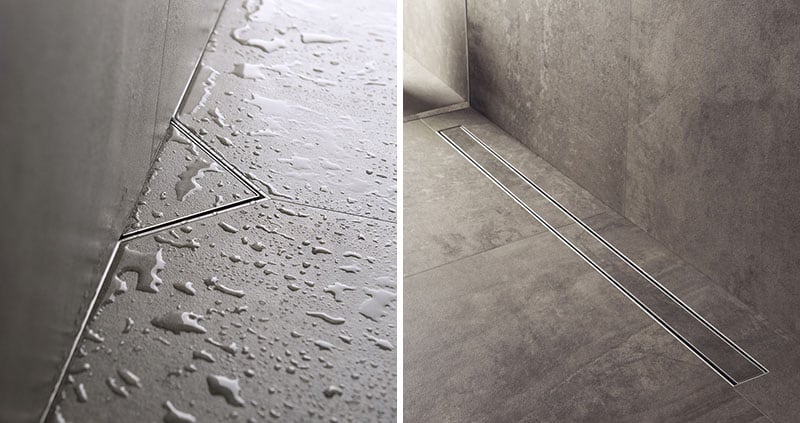
If you’re doing a curbless shower or an infinity drain you will also need to let your contractor know so the floor can be properly pitched for drainage, and the location of the drain.
Lighting and Electrical Considerations
Actual light fixtures don’t get installed until the very end, but the electrician will need to know how many junction boxes to install, where to install them, how many switches and dimmers (if any). Consider having enough overhead general ambient lighting as well as task lighting in the vanity area. I recommend using LED fixtures or bulbs with a color temperature of 2700k-3000k. You’ll want “soft white” lighting that gives a warmer yellowy color rather than a glaring “daylight” color temperature that gives off a blue light and makes you look sickly.
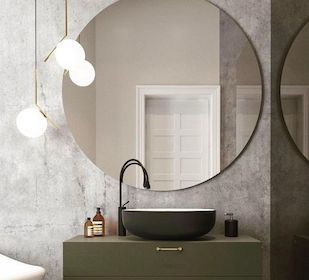
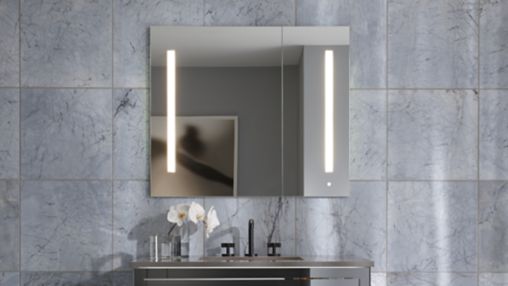
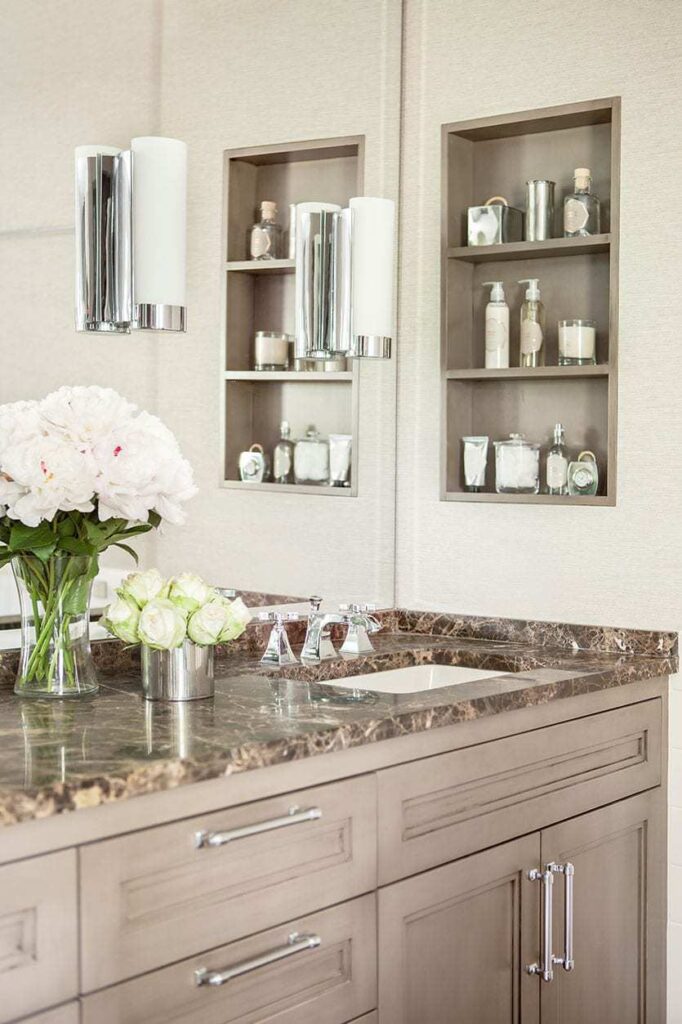
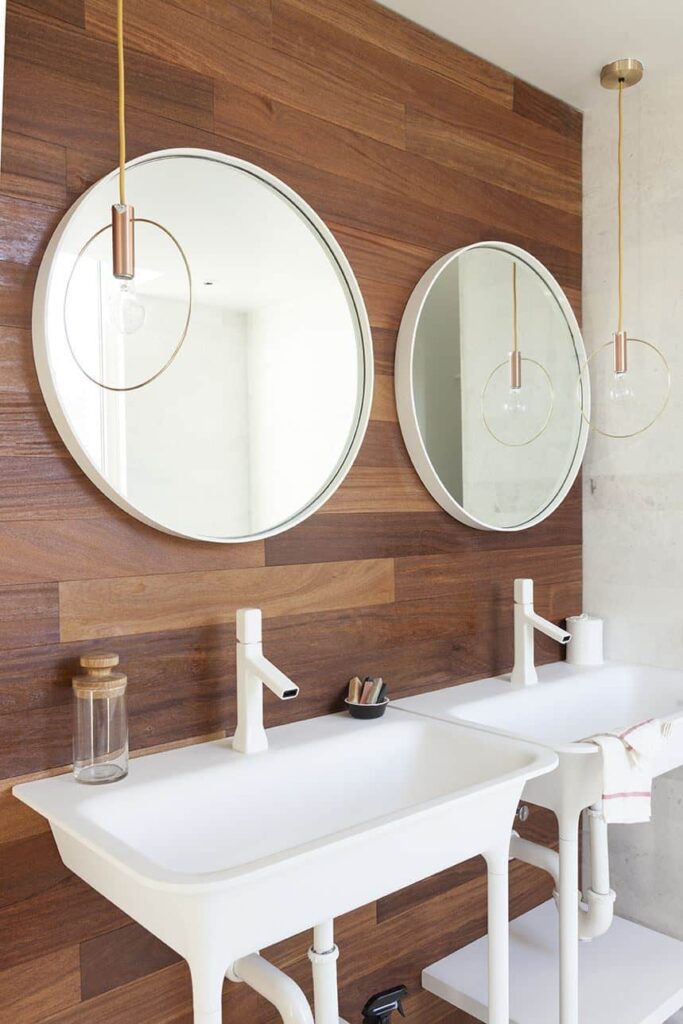
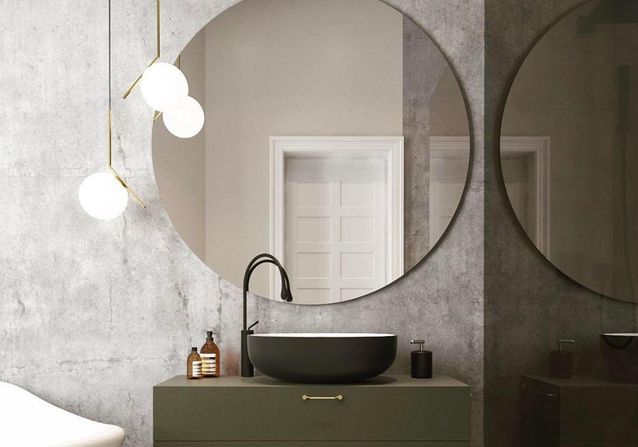
Think outside the box with lighting in the vanity area. Instead of 1 sconce above you mirror what about a lighted mirror medicine cabinet? Consider sconces that are more at your eye/face level on either side of the mirror, or funky pendant lights.
If you want an electric heated towel bar, make sure you know where it’s going and give the model specifications to the electrician, so they can wire properly for it!
Radiant heated floors have become extremely popular in bathrooms and provide a great asset for resale value as well. You’ll want to make this decision at the start of the project and discuss it with your contractor. They will need to run a dedicated circuit line for power, so although the materials are fairly inexpensive, the labor can vary based on how far you are from the electrical panel!
Decorative Elements
I HIGHLY recommend sketching out your tile layouts before installing them. Whether it be a doodle on a paper napkin or a CAD elevation by a professional, I think this can be crucially important. Determine what walls will have tile, how high the tile will go up on the wall, and how you will finish any edges (with bullnose tile, or some piece of wood molding or metal trim). For untiled walls will you have wood base molding or use tile as a base? You may want to consider a chair rail height paneling or a vinyl wallcovering to add more depth to the walls. Remember that tile on the shower floor should be in a honed finish or rated for wet use on floors. It can be extremely dangerous to have a large format polished tile on a shower floor. I like to use mosaic tile on shower floors since it will have more grout lines to give traction.
It’s helpful to have a designer when selecting tile, or a skilled tile installer who can discuss your tile layout with you. If you have outside corners you may need to get creative with how the tile edges meet and wrap that corner. You will require some sort of trim where two surfaces meet, or your tile ends and transitions to sheetrock. Some styles of tile have trim pieces, but many of today’s popular mosaics or porcelains do not, or you may not like the way they look. I often like to use Schluter metal trims to finish my tile. You can get sleek stainless steel edges for a more contemporary look or use any number of decorative finishes and profiles to fit in with a range of aesthetics. Figuring these out on your own can be tricky – it’s best to work with an experienced designer or tile installer who is familiar with the product!
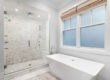
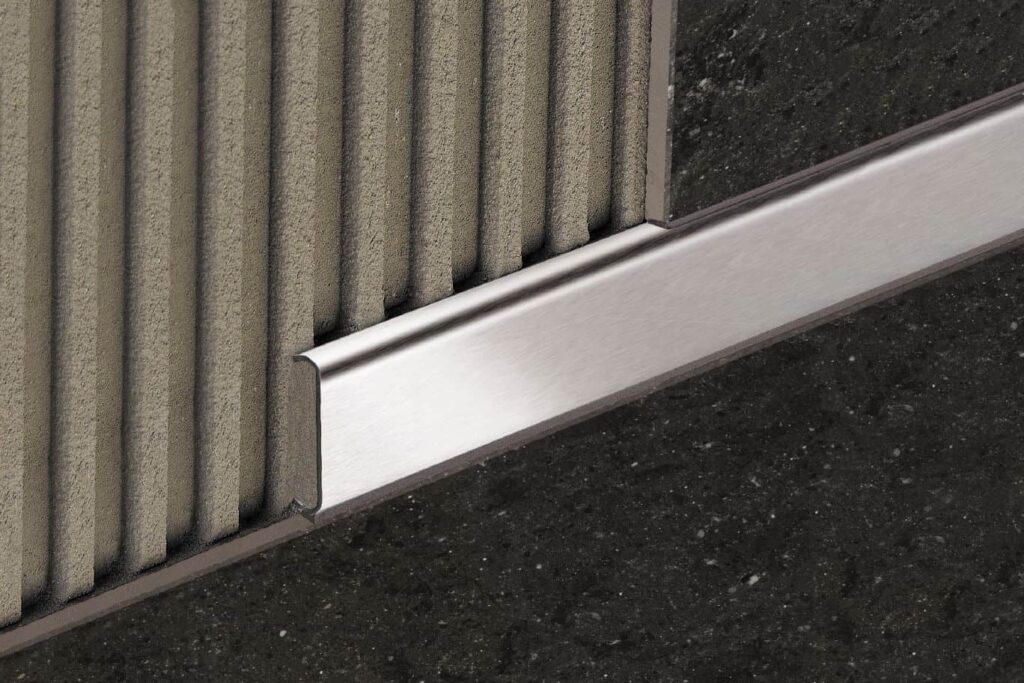 Metal transition edge between tile and wall
Make sure you plan ahead for towel bars, robe hooks and towel rings and leave wall space for them. Ideally, know in advance where these will go so your contractor can put wood blocking behind the sheetrock for extra support. If safety is a consideration, consider adding grab bars. We have some great resources for attractive grab bars in this post about How To Make Your Home More Accessible. Make sure your towel bar is close and accessible to the shower so it can be grabbed while exiting the shower. If you don’t have the wall space for that, consider a small hook near the shower door for access.
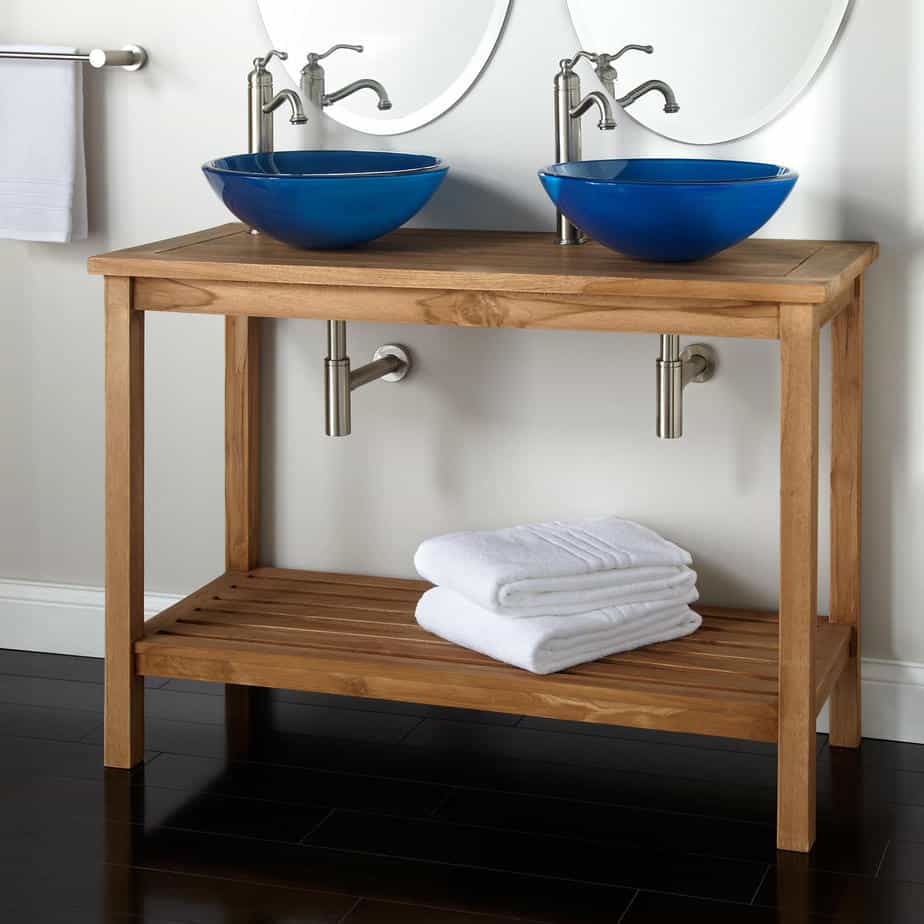
When selecting a vanity make sure it will accommodate your storage needs. Does it have ample counter space, drawers and closed storage? An open leg console style sink might not be properly suited in an everyday bathroom compared to a guest bathroom that requires less concealed storage.
Renovating a bathroom can seem tedious, expensive and inconvenient. Hopefully this guide will help keep you a few steps ahead of your contractor to keep the timeline progressing! Give us call at 203-742-9955 if you’d like to do a free consultation on your potential bathroom remodel. And please feel free to use this downloadable checklist to make the planning smoother.

Katie Canfield is the founder and principal designer at Studio KC. Studio KC got its humble start in 2015 when Katie was just 23 years old. While she was freelancing with other interior designers in the NY and CT area she also became a go-to designer for local contractors and trades that needed a designer’s help for their clients whether it be for custom cabinetry drawings or plans for a gut renovation on an entire home.
Katie Canfield’s design aesthetic is eclectic and flexible. She delights in the marriage between old and new- keeping spaces approachable but still matching each client’s unique aesthetic and family narrative. Her passion for design keeps her motivated and constantly on the hunt for new trends and materials. Her broad experience includes an art history background, study at the Accademia Italiana in Florence, a stint with the renowned Manhattan firm Amanda Nisbet Design, as well as collaborations with builders and designers across the tri-state area. She’s seen it all: from gutting prewar Manhattan apartments to new construction in the ‘burbs.